Replicate A Whole Data Center Locally With Onsho
by Puja Abbassi on Feb 23, 2016

Two weeks ago we introduced Mayu and Yochu, a set of tools to set up customized CoreOS clusters on bare metal, available as open source. However, not everyone has access to some bare metal or spare servers sitting in his basement. This is why we created Onsho, which we are releasing today as open source software.
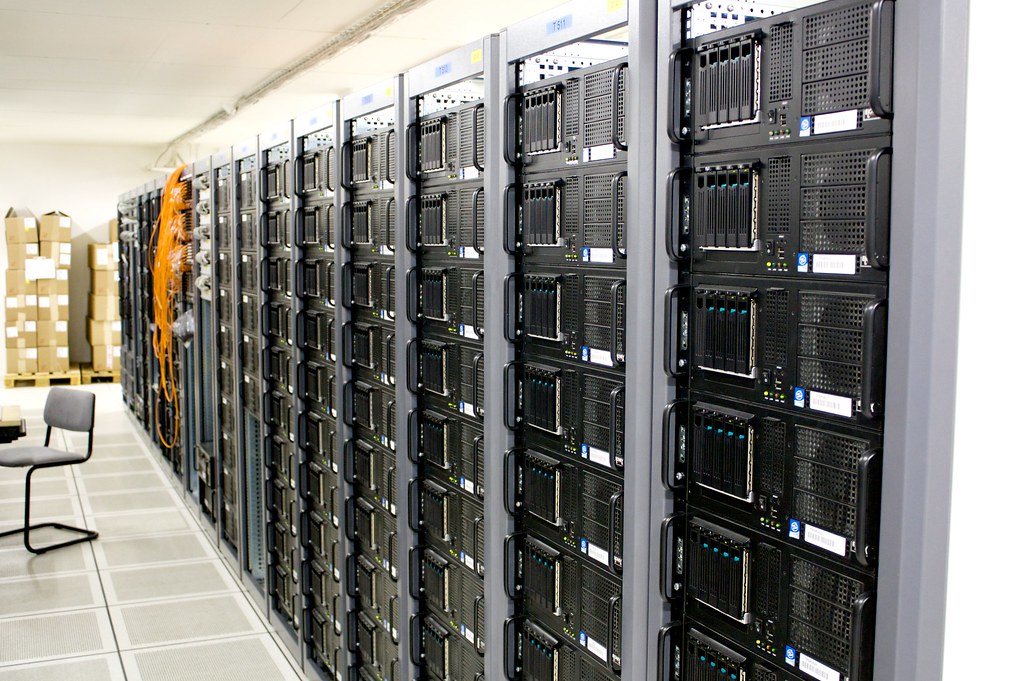
Onsho is a tool that manages QEMU VMs. We use it to start one or more iPXE-enabled virtual machines that will then be provisioned by Mayu (and if you want also Yochu). You can also use it with any other PXE-serving software or let it boot from non-PXE images. With that you can replicate a whole data center on a single machine or VM. You can then use that DC to test out infrastructure software. For example we use it to to simulate whole instantiations of our microservice platform and test out new modules like e.g. Prometheus monitoring.
Less Talk, More VM Action
To make this more tangible, let’s just try it out. Note that this currently only works under Linux with QEMU installed. If you are using it in a Linux VM, be sure that your VM provider supports nested VMs. On Macs as of this moment this is possible with VMWare Fusion or Parallels Desktop, which both have a free trial version. VirtualBox is currently not supported on the Mac. If you want to write an xhyve or other driver for Onsho feel free to contribute to the GitHub repo.
First, we need to set up a bridge for the Onsho machines to have a separate network they can have fun in.
sudo -i
brctl addbr onsho0
ip link set up dev onsho0
ip addr add 10.0.3.251/22 dev onsho0
mkdir -p /etc/qemu
echo 'allow onsho0' >> /etc/qemu/bridge.conf
Note that this is not persistent after reboot. For examples on how to do this with systemd-networkd or on fedora see the host-conf directory in the repo.
Next, we want to get Mayu and run it on our host machine, so we have a PXE endpoint the Onsho VMs will be able to talk to. We’re using the Docker image here, so naturally you need Docker installed for this. For the image to be self-contained, we recommend to build your own image with a customized config file like follows:
wget https://downloads.giantswarm.io/mayu/latest/mayu.tar.gz
mkdir mayu
tar xzf mayu.tar.gz -C mayu
cd mayu
Fetch the CoreOS version you would like to use:
./fetch-coreos-image 835.13.0
Check the versions of docker, etcd and fleet you would like to install. There are defaults defined in the ./fetch-mayu-asset script.
grep 'VERSION=' fetch-mayu-assets
./fetch-mayu-assets
There are a few things you should configure before Mayu is usable:
- add your SSH key to the config.yaml (replace ‘')
- adapt docker, fleet and etcd versions
- add
no_secure: trueto the config if you don’t want to use TLS in your local setup - change the interface (bond0) to something like onsho0
cp config.yaml.dist config.yaml
vi config.yaml
Now Mayus configuration is in place and we can build and run the container.
docker build -t mayu .
and run it.
docker run --rm -it \
  --cap-add=NET_ADMIN \
  --net=host \
  -v /var/lib/mayu/cluster:/opt/mayu/cluster \
  mayu \
  -v=12
Now that we have Mayu running, we need to get Onsho.
wget https://github.com/giantswarm/onsho/releases/download/0.4.0/onsho.0.4.0.tar.gz
tar xzf onsho.0.4.0.tar.gz
cd onsho
Finally, we can start our cluster with a single command. We’ll start three machines to get an etcd quorum. If your machine doesn’t have a lot of RAM, be sure to start less machines or give each machine less RAM as the default per machine is 1024 MB.
./onsho create --num-vms=3 --image=ipxe/ipxe.iso
Now, we just attach to the created tmux session (called zoo), lean back and watch the cluster get bootstrapped.
tmux a -t zoo
When following the bootstrapping process you can see how each machine boots multiple times until it’s fully provisioned. First, it boots over DHCP, and gets its first kernel image and subsequently the initial root directory from Mayu. Then, on the next boot it gets bootstrapped with the desired vanilla CoreOS version and configured with the Cloud-Config that Mayu provides. On the final boot we have a fully configured and running CoreOS machine. Once all machines are through this process (which roughly runs in parallel), you can check the status of the cluster in tmux:
$ fleetctl list-machines
MACHINE					IP		METADATA
00006811af601fe8e1d3f37902021ae0	10.0.3.31	role-core=true
0000906eb12096e3d94b002c663943f9	10.0.3.33	role-core=true
0000d71391dc5317a0a1798d6bd5448f	10.0.3.32	role-core=true
Now you can use onsho to manage this cluster. You can for example add or remove machines, start and stop them, or wipe a machine so it gets set up fresh. With this you have a clean way to provision clusters locally that very closely resemble a bare metal setup provisioned by Mayu. As mentioned above, you can use this to test out infrastructure modules as well as whole microservice platforms based on CoreOS. You can also test out different versions of fleet, etcd, and Docker provisioned by Yochu onto different versions of CoreOS. As fleet is particularly central to these clusters, we are working extensively on making it more performant. Be sure to watch this blog for a post about our fleet benchmarking tool - to be published very soon.
Image attribution: Richard Bartz, Munich Makro Freak & Beemaster Hubert Seibring, Munich [CC BY-SA 2.5 (http://creativecommons.org/licenses/by-sa/2.5)], via Wikimedia Commons
You May Also Like
These Related Stories

Meet Kocho - Our Bootstrapping Tool For CoreOS Clusters On AWS
Last week we made Mayu and Yochu, a set of tools to set up customized CoreOS clusters on bare metal, available as open source. Today we are introducin …

Enter Mayu & Yochu – Our Provisioning Tools For CoreOS On Bare Metal
Despite the ongoing growth of the public cloud market we see more and more companies operating their own bare metal. These are not only big tech compa …

Benchmarking Fleet Clusters With Rkt And Docker
On Tuesday we showed you how you can simulate CoreOS clusters on a single machine with Onsho. We also mentioned that we are working on improving fleet …